Even though we are still living in our rented tiny condo and all my kitchen gear is in storage (including my stand mixer), it is time to get back to baking bread. Without my mixer, I am getting my hands on the dough more, so getting an even better feel for the textures I like best.
I recently made a new sourdough starter (my 3 year old starter did not make the trip from Delaware). It appears to be quite happy and vigorous, so I am back to making sourdoughs. I used 1 cup of sourdough discard in place of the sponge for this bread.
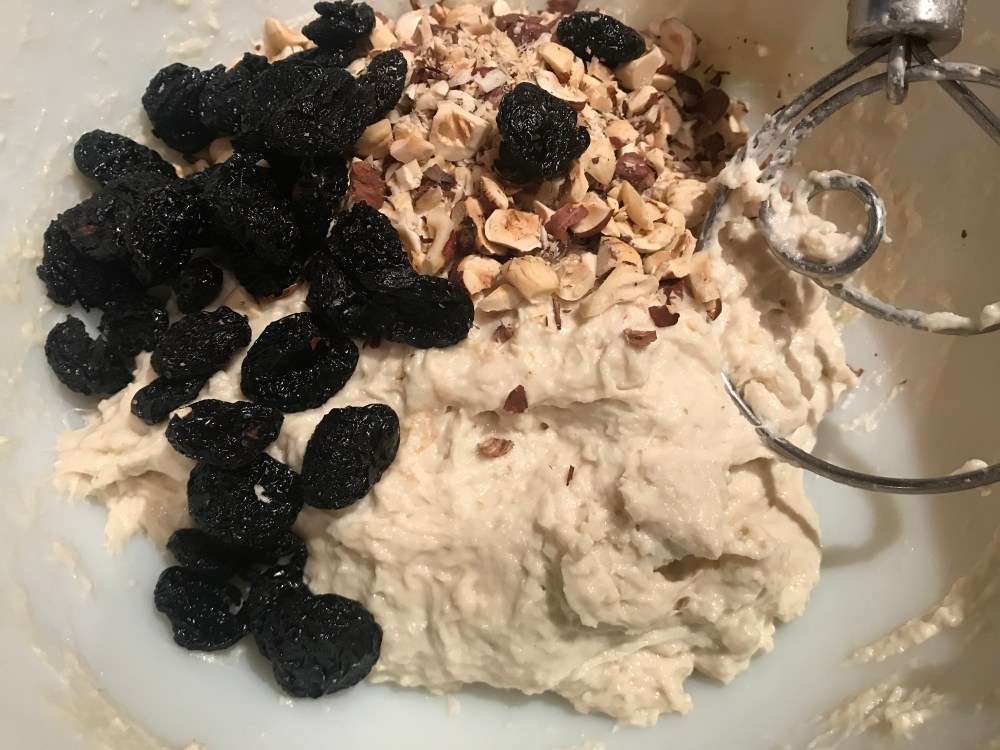
When I saw the recipe for this bread, I jumped on it. Now that we are in Oregon, I always have hazelnuts and dried cherries on hand. Of course, the hazelnuts were still in their shells, so, over the weekend, I shelled and roasted them. All I had to do this morning was chop them.

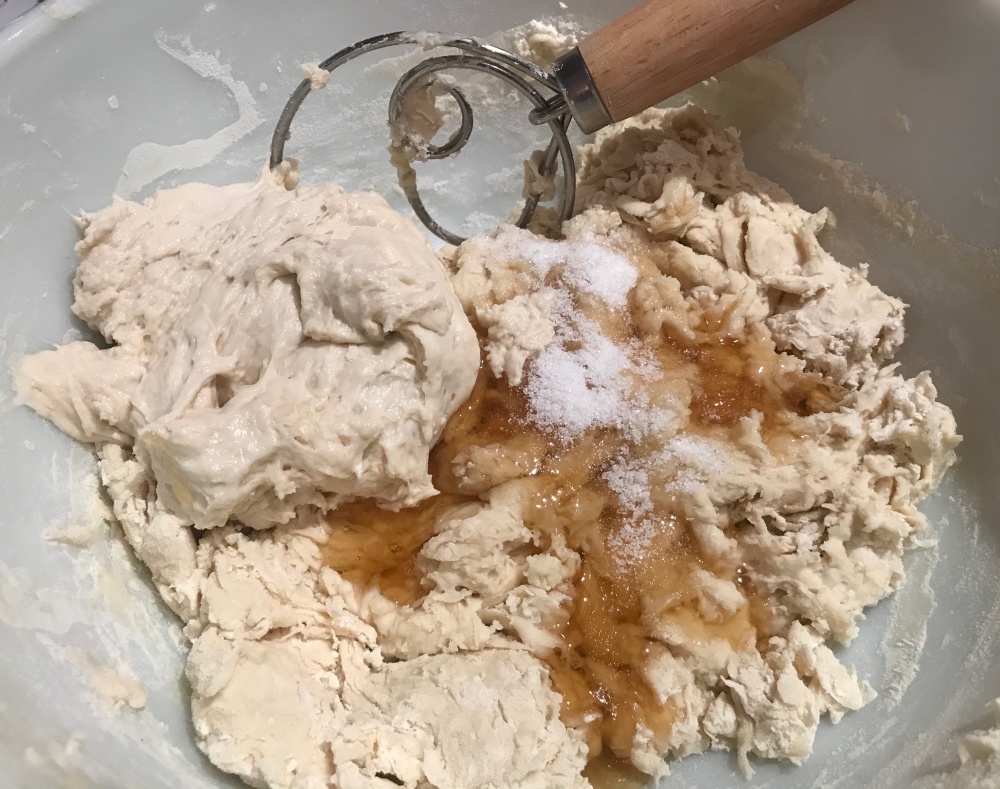
I also purchased a dough whisk, which helps me do more efficient kneading, particularly early on in the process. It is more work on my arm, but the gluten developed very quickly.
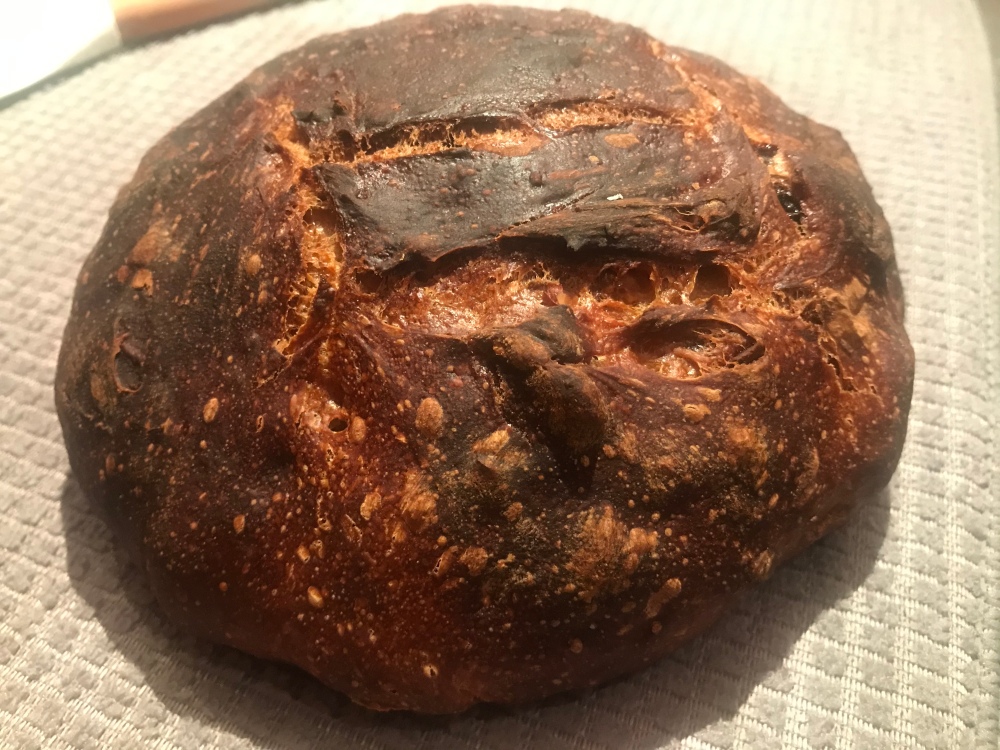
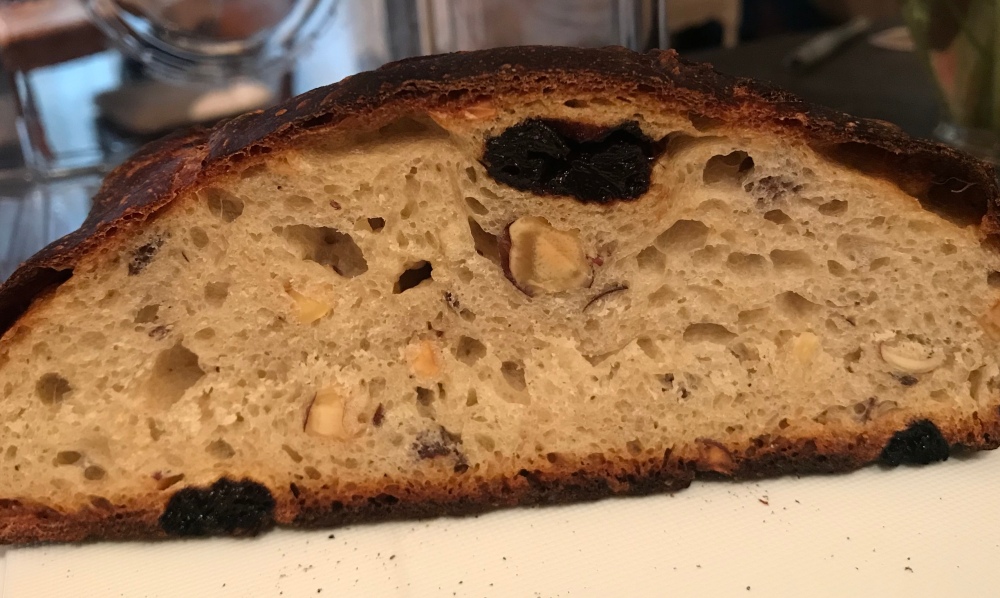
The second loaf (these pictures) did over proof a bit while waiting to be baked. But that is my only complaint about these loaves, otherwise I am happy for my first loaf using the sourdough discard.
Hazelnut and Cherry Bread
slightly adapted from Fiveandspice.com
- 1 1/4 cups (300 grams) lukewarm water
- 3 3/4 cups (540 grams) all-purpose flour
- 12 ounces (340 grams) bread sponge (below), sourdough starter OR 1 cup sourdough discard
- 1/4 cup (85 grams) honey
- 2 teaspoons kosher salt
- 1 cup (100 grams) chopped, toasted hazelnuts
- 3/4 cup (120 grams) dried tart cherries
- medium-coarse yellow cornmeal for the baking sheet, if using
Directions
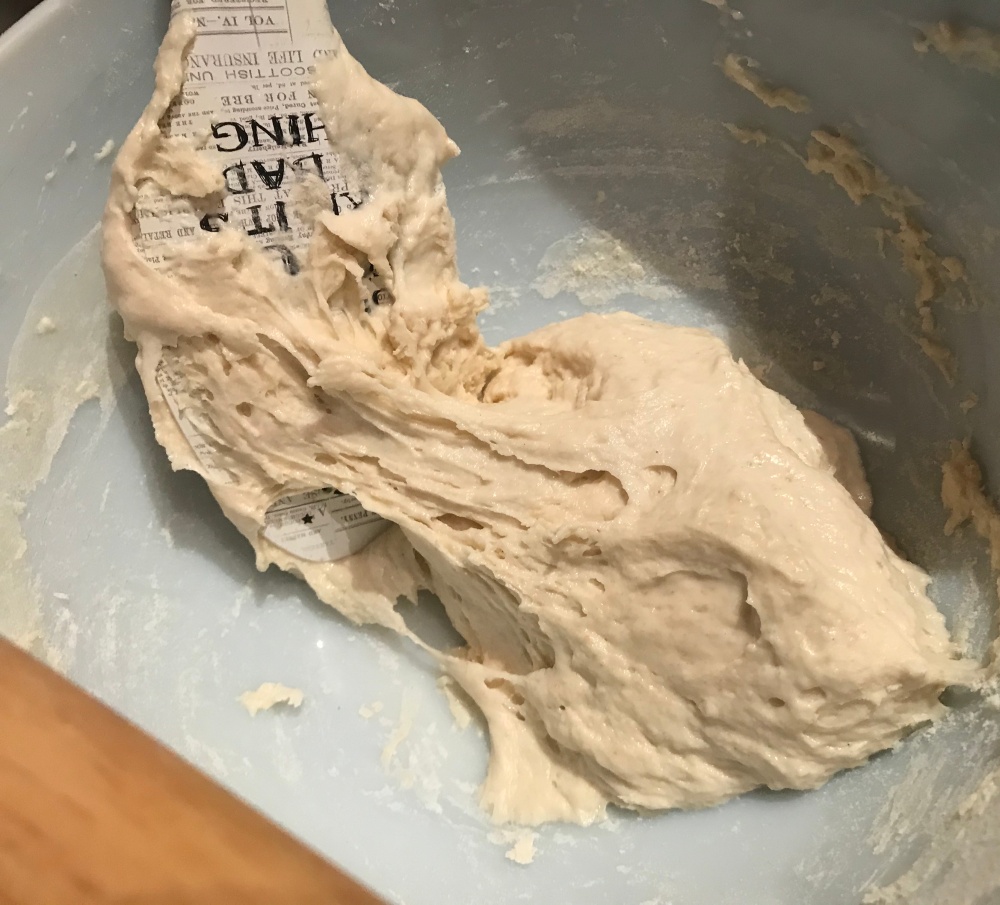
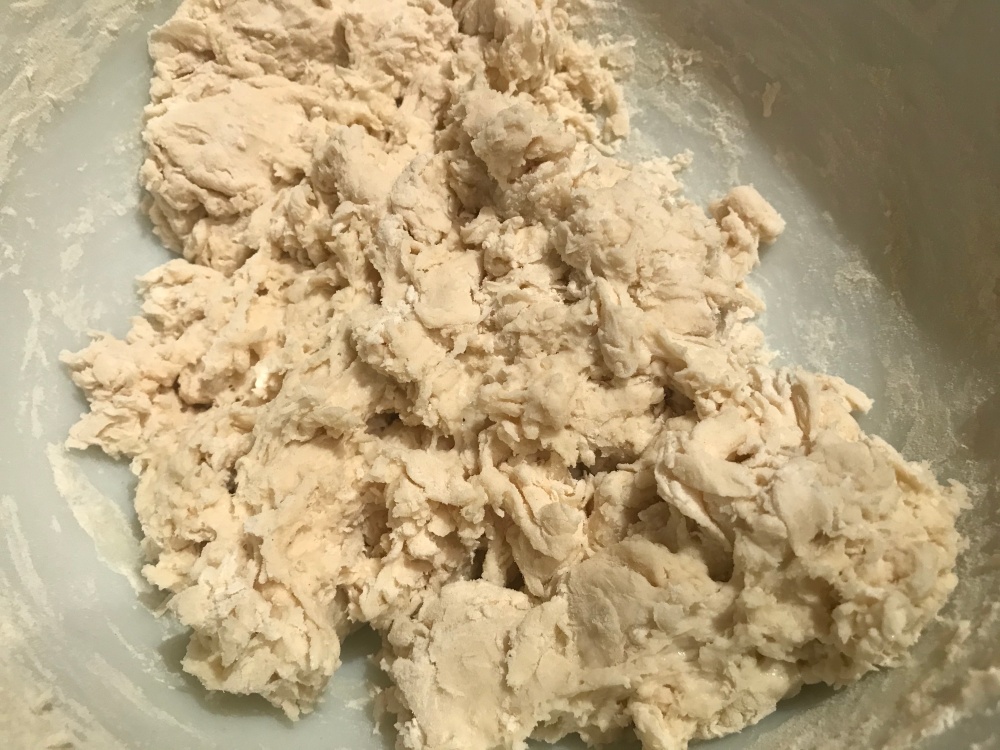
In a stand mixer fitted with the bread hook, or in a large bowl using a dough whisk, stir together the water and flour just until they are mixed together into a shaggy mess. Cover the bowl and let it stand for 10-20 minutes (this is called an autolyse).
Add the honey, salt, and sponge/sourdough starter/discard, and mix on medium-low speed for 3-4 minutes (with a dough whisk, keep it in the large bowl and mix/knead for 4-5 minutes). At this point, the dough it should feel supple but still somewhat sticky. If it seems too stiff add a few Tbs. of water, if too sticky add a few Tbs. flour.
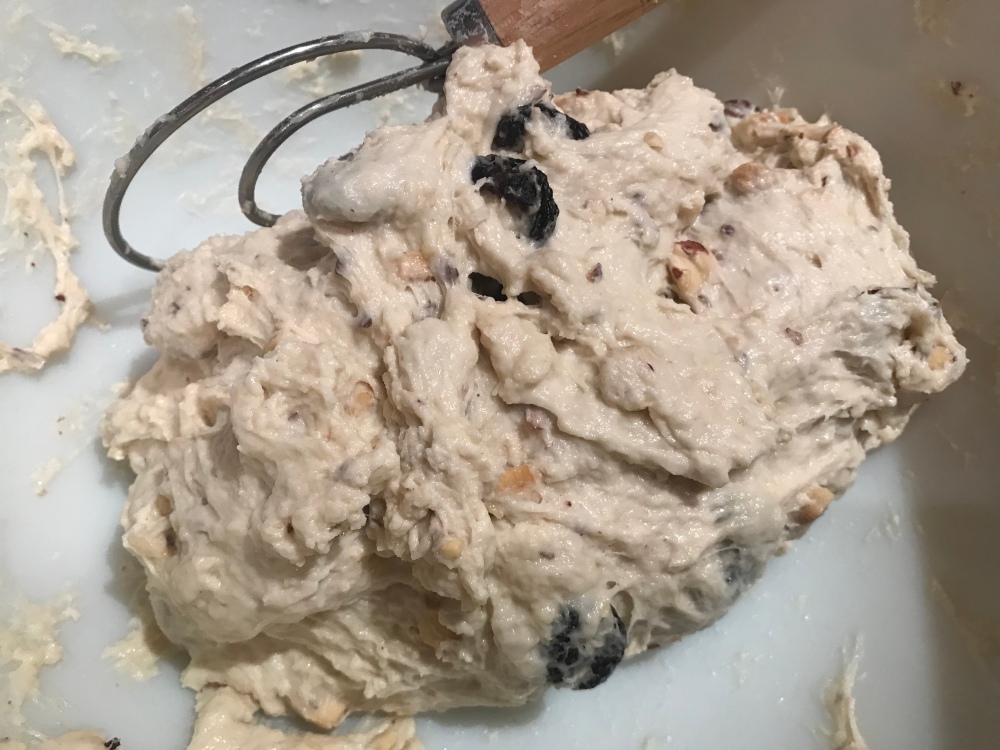
Add the hazelnuts and cherries and mix on low speed for 4-5 minutes, stopping to pull the dough off the hook as needed. (mix/knead with a dough whisk 5-6 minutes). Transfer the dough to an oiled bowl, turn the dough to coat, and cover the bowl with plastic wrap or a damp kitchen cloth.
Let the dough rise in a warm place for 2-3 hours. The dough will rise only a small amount and should feel loose and still somewhat sticky. At this point, turn the dough out onto a floured surface and divide it into two equal portions. Shape each half into a ball and flour their surfaces well. At this point, transfer the two loaves onto a baking sheet sprinkled with a good amount of cornmeal for rising. (At this point you can also refrigerate the loaves overnight and then take them out the next day for the second rise and baking.)
Cover the loaves with plastic wrap and allow them to rise at room temperature for another 3 hours (they still won’t puff up much, but they will seem like the dough has relaxed).

Heat your oven to 450F and place a Dutch oven with a lid in the oven to heat with it. When the oven has heated, remove the Dutch oven and transfer one of the loaves into it, cover and place in the oven. Bake covered for 20 minutes, then remove the cover and continue to bake until deeply brown and crusty, 20-30 minutes more. Remove from the oven and repeat to bake the second loaf.
Alternatively, heat your oven to 450F with a heat proof non-breakable baking dish on the lowest rack. Place the baking sheet with the loaves into the oven and throw 2 cups of water into the pre-heated baking pan, then quickly shut the oven door to keep the steam in. Bake for 35-45 minutes, until the loaves are deeply golden brown on top. Allow the bread to cool completely before slicing.
Loaves freeze well wrapped tightly. Then just let them defrost and you’ll be ready for slicing and toasting.
Bread sponge
- 3/4 cup (180 g) water
- 1 1/4 cups (175 g) all-purpose flour
- 1/4 teaspoon active dry yeast
Stir together 1 cup of the flour (140 g) with the water and yeast until well mixed. Cover and leave at room temperature for 4-8 hours. Then stir in the remaining flour. Cover again and leave in the refrigerator overnight before using.

Looks yummy!
LikeLike
Thank you
LikeLike